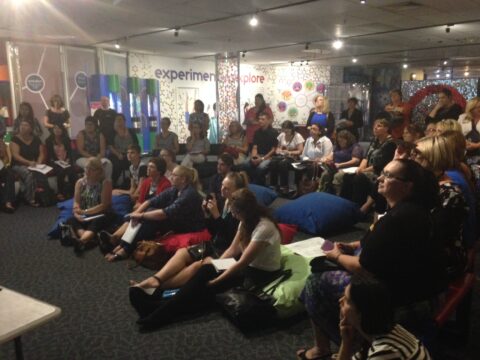
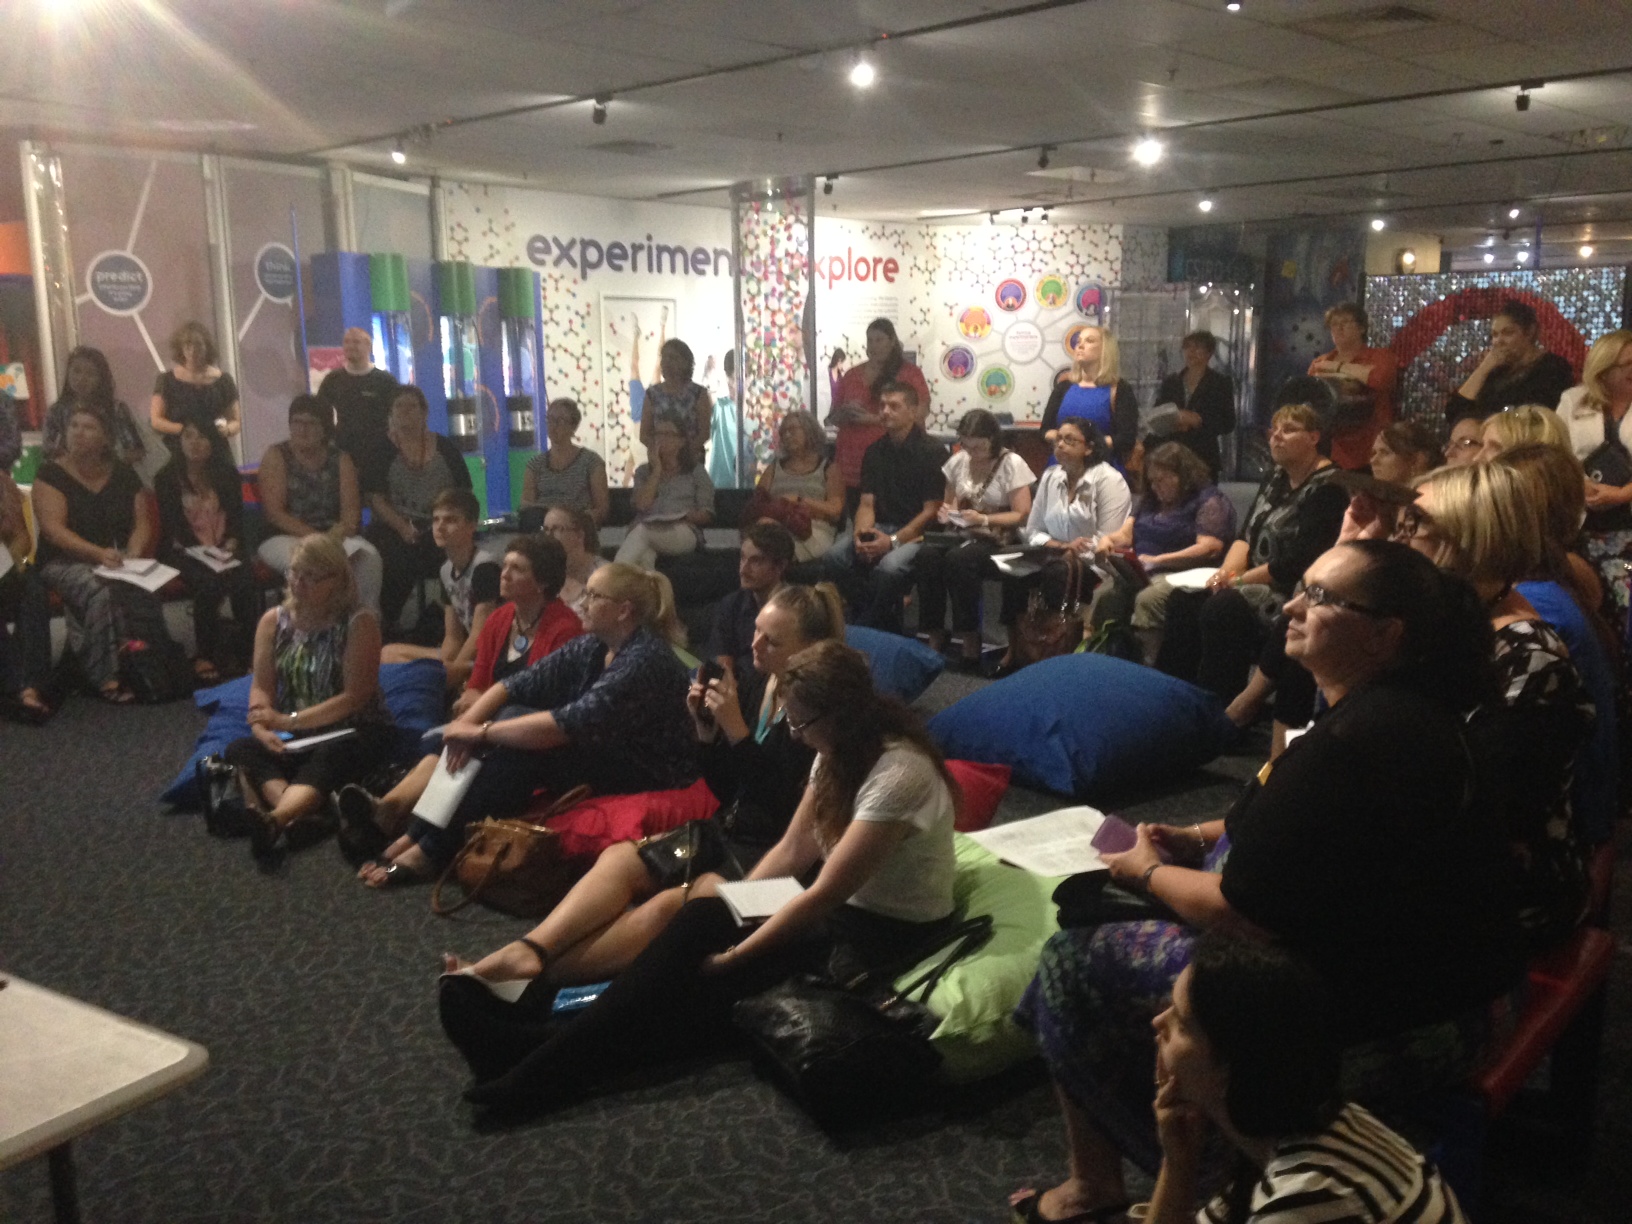
How does the KWHLAQ impact student learning?
It may just seem like a series of questions, but each one leads them through Blooms taxonomy from recall through to synthesis and application. The starting point is to pick your topic. This tool is subject agnostic so it can be as simple as “What is the Sun?” through to “What are the key elements of forensic chemistry investigations.”
Here is the run down on each stage so you can decide how it might apply to what you teach:[mk_padding_divider size=”40″]
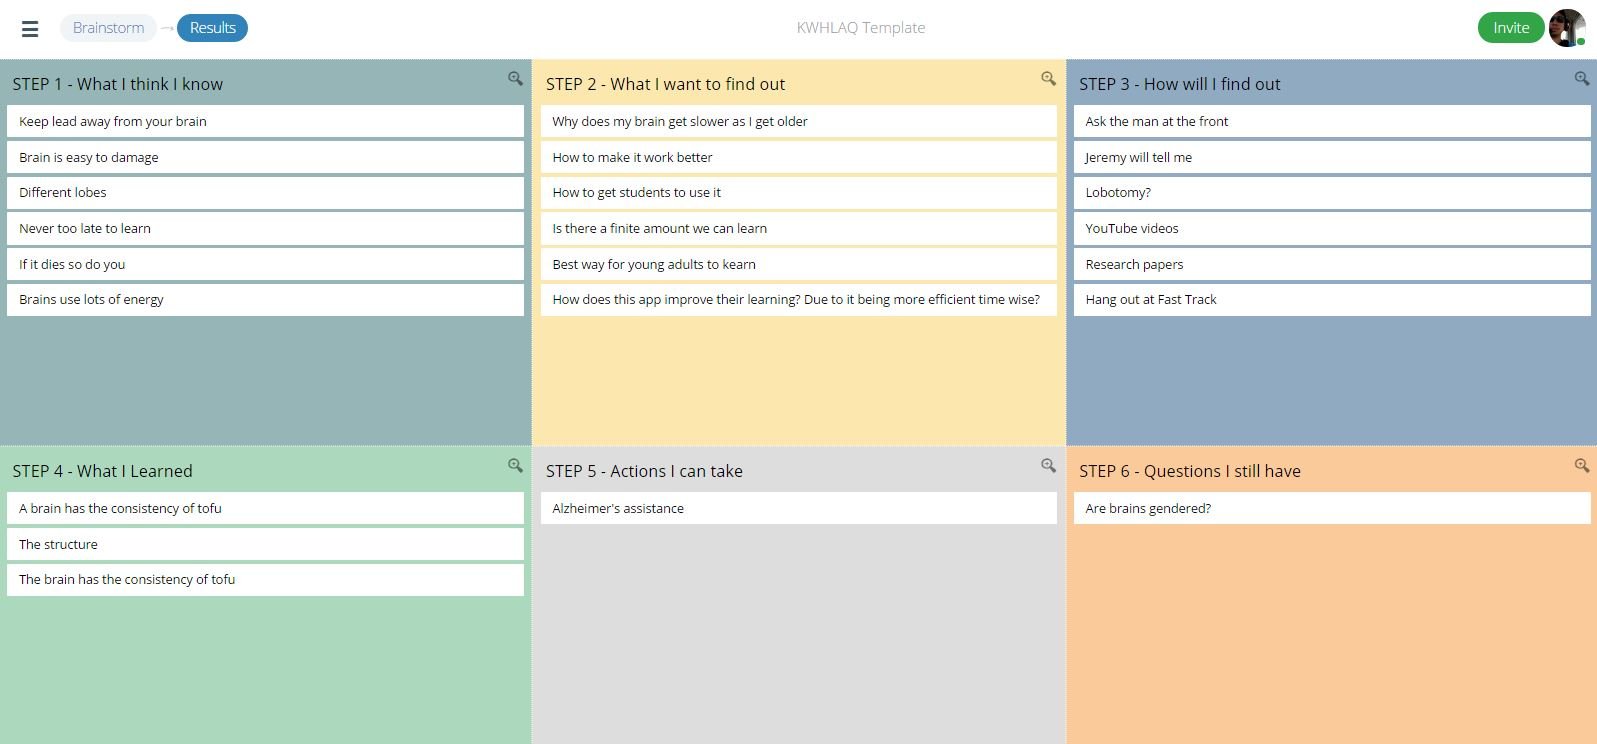
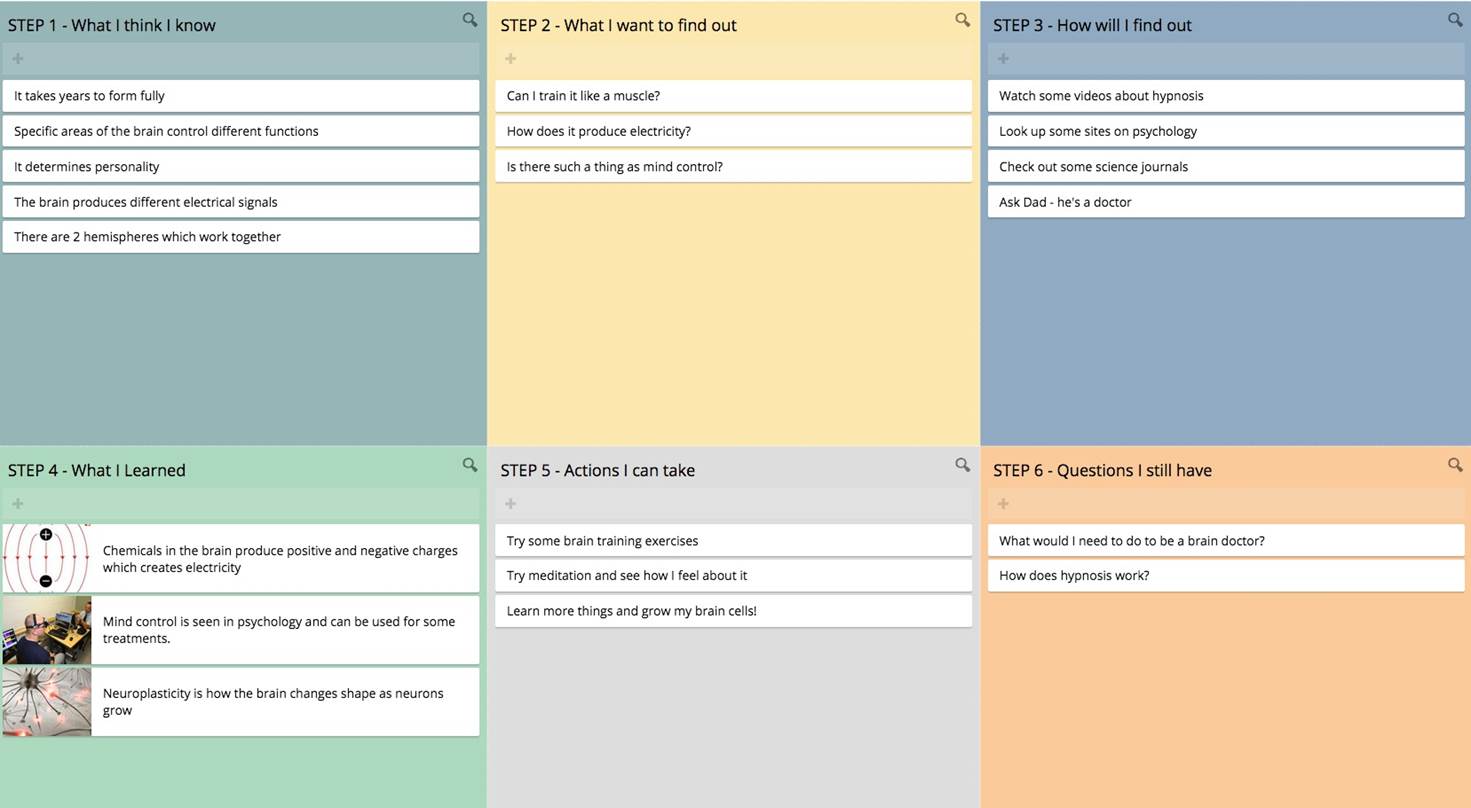
K – Let’s start with what you know.
This gets students to recall what they already know about the subject and activates conversations – who knows.. you may learn something new yourself! This is a good way for you to offer feedback or to challenge some of their initial assumptions, encouraging them to back it up with facts.
By quickly capturing the wisdom of the group, you get a sense of the starting point for the group. I recommend doing this as an individual exercise to begin with. Individual silent brainstorming at this stage gives each person the opportunity to draw our more specific information and a way for each student to start thinking about the topic. It gets them all involved straight away and is often a way to see who has “contributed” the most in the first stage.
Once you think there is enough input, open it up to class discussion and feedback. At this point, I like to provide a bit of content, a video or a few slides on the topic to add to or validate what the students have put forward.
[mk_padding_divider size=”40″]
W – What would you like to find out?
This steps promotes inquisitive thinking, giving students the opportunity to design and create their own learning experience. Encourage them to question what might not be known and to consider why they are asking the question. Creativity is key here. You might add a few key things that you have to cover from the curriculum but then provide a little space for new discoveries. Sharing what people have put forward is a good way to inspire new perspectives.
If you are really short on time, you can ask students to vote on the things they want to find out about the most. This will help focus the class on the key questions.
This list can help you design your next class or act as a blue print for the next step.
[mk_padding_divider size=”40″]
H – How would you find out?
This step encourages students to take charge of their learning. They have to think of the sources of information to answer those questions. Not everything should just be Googled. They may have to talk to others, design their own experiments, look at referenced articles or interview an expert. If they are heading towards a design of an experiment, you may wish to separate this out to a separate activity around experimental design. I tend to give the most feedback here because I find that this is where they need the most guidance or lack specificity. Throwing in a few examples you expect from them doesn’t hurt.
Once this is done, they can start their research or activities. This is usually where there majority of time is spent.
[mk_padding_divider size=”40″]
L – What did you learn?
Once the class or activity is over, this reflective exercise asks students to summarise key learning from their work to be shared with the class. This is key to see if there have been any new facts gathered in the process. I love being able to give a thumbs up for new information that I find remarkable or worth recognising the effort put in. This can sometimes be a step done after student presentations so that it can brings in learning from the whole class.
[mk_padding_divider size=”40″]
A – What actions can you take?
Great job so far. Now it’s time to make it real by asking students to think of a few ways the new found knowledge can be applied on a day to day perspective or to solve a different problem. By translating knowledge into action, this helps them consolidate information into a real application. It’s up to you how much emphasis you want to put to this. Sometimes the thinking is enough, and other times, you actually want to go further to make it real, adding in comments and pictures.
[mk_padding_divider size=”40″]
Q – What new questions do you have?
Often the more we find out, the more questions we have, so this last step captures any new questions that may have come from the first round of activities. It teaches the importance of continued questioning and how our questions advance as we discover more. It might even be the catalyst for the start of a new topic.[mk_padding_divider size=”40″]